Lavender Butter


Whenever I see a recipe calling for compound butter it always goes something like, "Take butter. Mix in [ingredient]. Voila!" Rarely do you see instructions calling for butter to be actually made. Making your own butter is really not necessary most of the time, but it's still cool.  I don't do it often because I'm lazy, but it's fun every once in a while.

The mechanics of butter-making are pretty simple -- take cream, shake until it's butter. The cream has tiny, tiny globs of butterfat floating around in it, and when you shake or churn it those little packs burst and stick together, making one big clump of butterfat (and lots of watery buttermilk).


The left picture is before I started shaking, and the right is when the fat is just starting to come together, before I poured off any of the buttermilk. It sort of comes together all at once, getting thicker and thicker until it suddenly congeals into butter.


Lavender Butter

1 pint good quality heavy whipping cream
2 sprigs worth of lavender leaves, finely chopped
Large jar with trustworthy lid

Add the cream and lavender to the jar, filling it up about halfway. Screw on the lid and start shaking. Shake until your arms hurt, rest, shake some more. After fifteen minutes of shaking the cream will start to puff up (this is why you need the large jar), then begin to separate into a clumpy solid and a liquid. Pour out the liquid and shake some more, repeating until no more liquid comes out. Wrap the butter in plastic wrap and keep it in the fridge (no more than a weekish).


September 1, 2011

Banana Bread with Walnut Streusel


My family is big on bananas, but not so big on coordinating shopping lists. Bunches and bunches of bananas pile up on the banana stand and in the fruit basket. People eat as many bananas as they can but it's never enough -- some always go bad, and that's when I step in with my trusty banana bread recipe (adapted from Nigella Lawson's recipe).

Can you really call banana bread "bread"? Sure, it's baked in a loaf pan and doesn't have frosting, but that's just surface stuff (and after all, who needs frosting when you have streusel?). I know that whenever I make banana bread it's a "Don't Eat Until After Dinner" thing, which automatically elevates it to cake status in my mind. Sort of a mix between carrot cake and fruit cake (but better).

I think the raisins are really the star of this recipe, little juicy-sweet bits that lighten up a bread that can be pretty solid. My mother likes to wrap up a thick slice and take it with her for lunch.


Banana Bread with Walnut Streusel Topping

Streusel:
1/4 c flour
2 tbsp brown sugar
2 tbsp melted butter
1/4 c chopped walnuts

Batter:
3/4 c raisins
1/4 c brown sugar
1/4 c water
1 1/2  c flour
2 tsp baking powder
1/2 tsp baking soda
1/2 tsp salt
10 tbsp butter, melted
1/2 c white sugar
1/4 c brown sugar
2 large eggs
4 small, overripe bananas, mashed
3/4 c chopped walnuts
1 tsp vanilla extract


Preheat the oven to 350.

In a small bowl completely mix together the flour, sugar, butter and walnuts for the streusel. Store in the fridge until needed.

Put the raisins, 1/4 c brown sugar and the water in a small sauce pan and bring to a simmer. When the water is mostly gone take them off the heat and let them sit.

In a medium bowl mix the flour, baking powder, baking soda and salt.

In a large bowl mix the sugars and melted butter until well blended. Beat in the eggs one at a time, then the mashed bananas. Stir in the raisins, walnuts and vanilla. Add the flour mix a bit at a time and scrape into a loaf pan. Sprinkle the streusel over the top and bake in the oven for 60-75 minutes.


August 24, 2011

Asparagus and Roasted Garlic


Some vegetable -- think brussels sprouts, cabbage, whatever -- get an undeservedly bad reputation. Asparagus was one of those for me. I haaaated asparagus. Hated it.

But now -- at long last -- vindication! No longer steamed or boiled, asparagus is now SAUTEED. With BUTTER. And VARIOUS FLAVORINGS. Very tasty, and pretty to boot.

As for the roasted garlic, that never needed any defending. Just say it out loud: Roasted. Garlic. Nobody can resist.

Side note: taking pictures of dinner is much more difficult than taking pictures of dessert. It's at  night, so my sun is gone and I have to light my picture corner with enough watts to set my hair on fire. And it's dinner, which means I'm surrounded by hungry hordes going on about how they're starving and they want their food. So that's why everything's a bit dim this time.


Sauteed Asparagus

1 bunch asparagus
1 small onion
1 clove garlic
3 tbsp melted butter
1/2  c. vegetable stock
olive oil
salt to taste


Trim the woody bottoms off each asparagus stalk (trim more than you think you should) and chop the onions and garlic. Toss them with butter and salt and let it sit while you heat up some oil in a pan over low heat.

Add the asparagus and 1/4 cup stock. When the stock begins to bubble cover the pan and let it cook for about 7 minutes. Check the liquid levels periodically, adding more stock when necessary. 

When the asparagus is tender (but not goopy) take the lid off and let the liquid boil away. Keep them cooking in the pan until they’re nice and browned. 


Roasted Garlic

1 head garlic
olive oil
salt

Set your oven to 375. Trim the top off the cloves, keeping the bulb intact. Set that garlic in your chosen dish and sprinkle with olive oil and salt. Cover it with a lid or foil and bake for one hour, or until the cloves are soft and brown.


August 19, 2011

Mint Chocolate Swirl Ice Cream

 Hey, guess what: it's August. Ew. I don't know about you, but where I live August is pretty much the grossest month of the year, sweat-wise. With soaring temperatures and a broken air conditioner my fancy-dancy-ice-cream-maker has been getting quite the workout. I decided to make everyone's favorite, mint chocolate chip. But chips are boring so I made mint chocolate fudge. It's better.


LOOK AT IT


When you get to the swirling part you'll need to move fast. Faster than that. FASTER. Ice cream get its creaminess from the churning, which breaks apart any ice crystals and mixes in fluffy air. Any parts that melt during the swirling will lose that fluffy air and will re-form the ice crystals as it freezes, giving it more of a frozen-milk texture than ice cream. So by keeping the fudge chilled in the fridge (it should remain soft enough to pour or scoop) and swirling quick enough you should be able to prevent that from happening.


Mint Chocolate Swirl Ice Cream

For the Ice Cream: 
2 c. milk
2 c. heavy cream
1/2  tbsp. mint extract
1 c. suger
4 egg yolks (room temperature)

For the Chocolate:
1/2  c. sugar
2 tsp butter
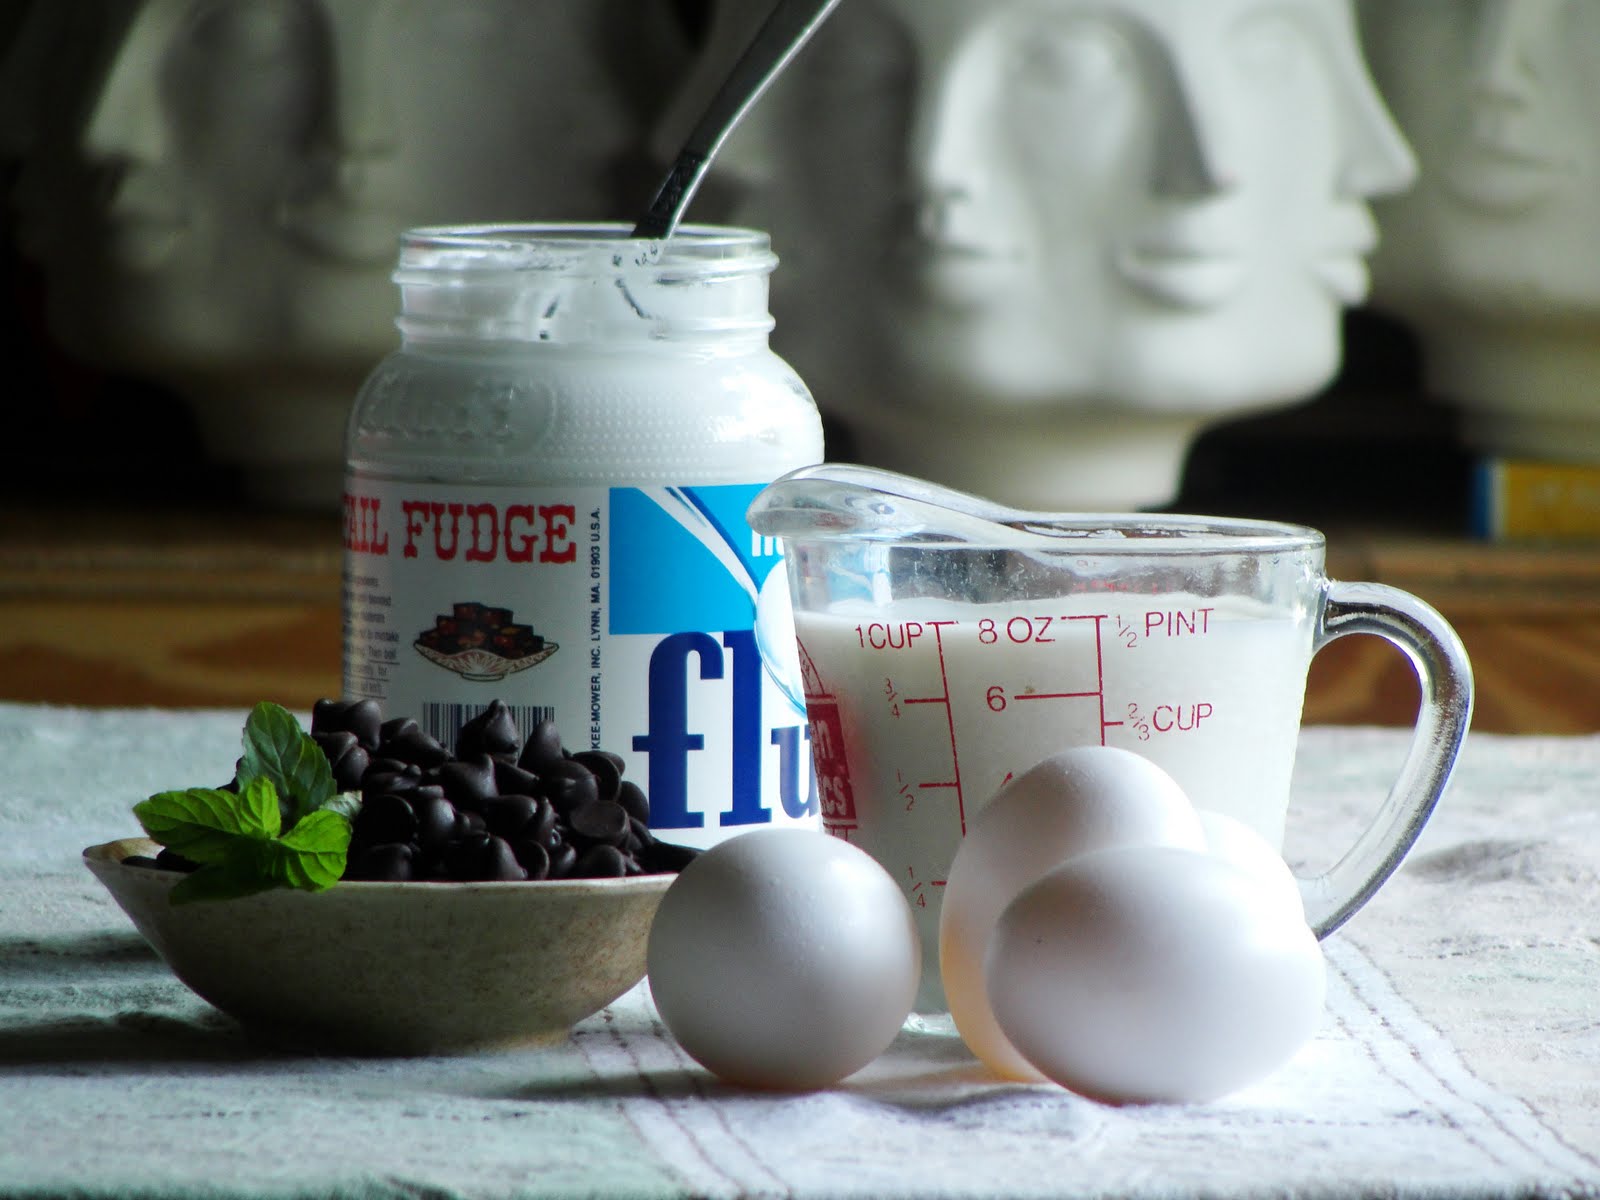
1 c. marsmallow fluff
1/4tsp salt
1/2 tsp vanilla
1 c chocolate


To start the ice cream mix milk, cream and mint in a large sauce pan and slowly warm it up. Meanwhile, mix the egg yolks and sugar in a separate bowl. When the cream and milk begins to steam, mix a few spoonful into the egg, then a ladle, then dump all the egg into the cream and stir. Keep it on the heat until it just begins to bubble, then take it off and let it cool. It should be thickish.

Cover it, stick it in the fridge.

Make the chocolate swirl in a separate pot by be mixing sugar, butter, marshmallow, salt and vanilla together. Put it on the stove with the heat on med-low until it’s all melted together. Add the chocolate, turn the heat off and stir occasionally until the chocolate is completely incorporated. Let it cool, stick it in the fridge.

Wait until both mixes are chilled (a couple of hours).

When ready stick the cream mix in your ice-cream maker and follow the instructions (or put it in the freezer, stirring  every 10-15 minutes, but you should really get an ice cream maker it’s fabulous). When the ice cream reaches soft-serve stage spoon it into a wide pan, then pour the fudge over it (you don't need to use all of it). Swirl them together with a spatula -- not a whole lot, just enough to get a pretty pattern.

Pour it into your chosen container and keep it in the freezer.


August 16, 2011